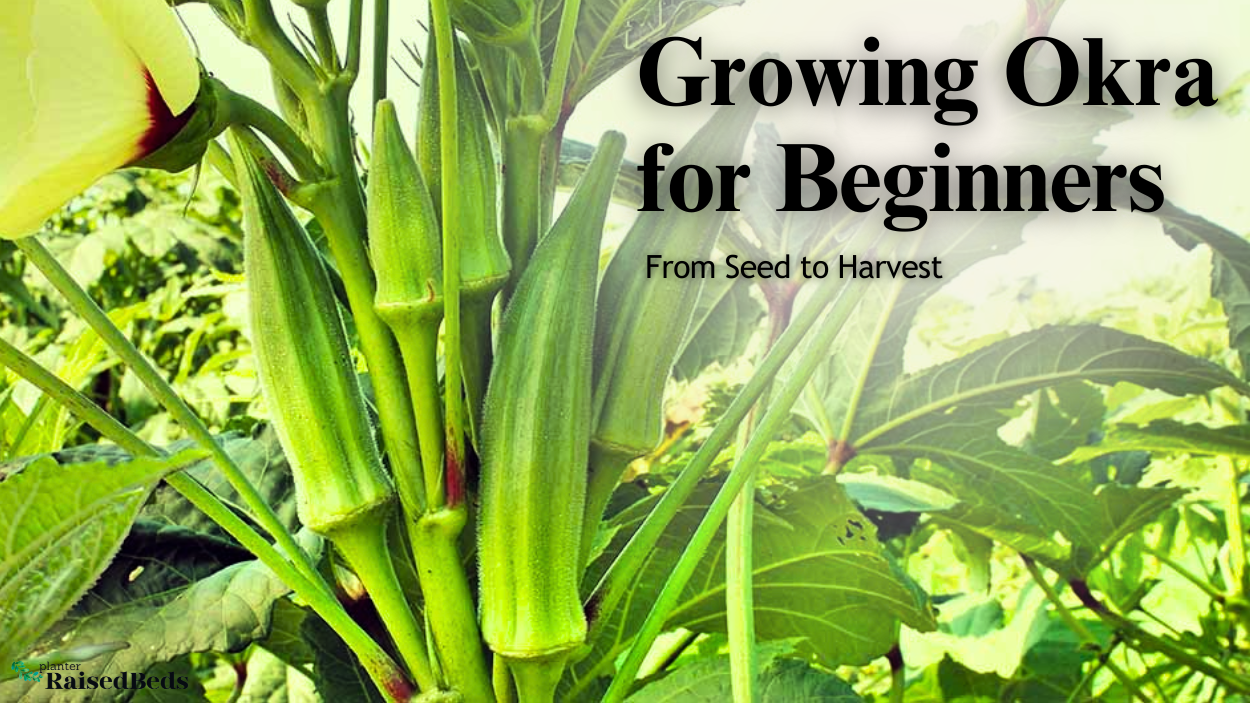
Okra is one of my favorite vegetables so it took me a while to learn and grow it myself. After 1 year, I have had good lessons and results. The harvested okra pods are fresh and healthy, making a delicious addition to my daily meals. Besides being a nutritious veggie with fiber, and protein, okra also provides vitamins A, C, and K.
Growing Okra
Growing okra may be a productive and enjoyable activity. Here are some general guidelines for growing okra:
Step 1:
Choose a planting location: Okra is a sun-loving plant and is suitable most for well-draining soil. As I have researched, you had better leave it for at least 6 hours under the sunlight every day and choose the kind of soil with 6.0 pH to 6.8.
Step 2:
Prepare the soil: Here is an important step. You should loosen the soil to a depth of at least 8 inches and mix in some organic matter, such as compost or aged manure. Therefore, the soil structure will be improved and it can provide more nutrients for our okra.
Step 3:
Plant the okra seeds: They will need about 1 inch deep and 3 inches apart in rows when you plant the okra seed, space them about 3 feet apart. After that, water them clearly.
Step 4:
Water regularly: It is said that okra growing okra demands moisture to grow healthy. Remember to water them regularly and deeply once a week, and more frequently if it comes to hot, dry weather.
Step 5:
Fertilize: Fertilization is really beneficial while planting okra. During the growing season, apply a balanced fertilizer such as 10-10-10 or 20-20-20 every 4-6 weeks. Following that, the outcome may astound you.
Step 6:
Control pests and diseases: Always watch for insects and illnesses such as aphids, spider mites, stink bugs, and watch out for insects and illnesses such as aphids, spider mites, and stink bugs, as well as diseases such as fusarium wilt and root rot. If you see any issues, clean them right away with an insect or fungus.
Step 7:
Harvest the okra: Okra pods are ready to pick when they are 3-4 inches long. Cut the pods from the plant with a sharp knife or scissors. To foster fresh development, harvest the pods every 2-3 days.
Frequently Asked Questions
1. When will my okra pods be ready to harvest?
When okra pods are 3-4 inches long, they are ready to harvest. Cut the pods from the plant with a sharp knife or scissors. To foster fresh development, harvest the pods every 2-3 days.
2. How can I keep pests and illnesses away from my okra plants?
Practice good garden hygiene, such as removing plant debris and weeds, to keep pests and diseases away from your okra plants. Rotate your crops every year to avoid soil-borne diseases from accumulating. If you see any problems, treat them right away with an insecticide or fungicide.
3. How can I store my harvested okra?
It is better to have your okra eaten fresh. But if not, you can store it in the fridge for up to a week. Before putting it in the refrigerator, wrap it in a paper towel and put it in a plastic bag, this can help the okra keep the freshness as long as possible.
Conclusion
Above are the experiences and lessons of me and my teammates. I hope you can get useful information, and have a very successful crop. Let's grow the lush okra plants together for personal meals and your family and friends.


Write Your Review
No reviews yet. Be the first to share your experience!